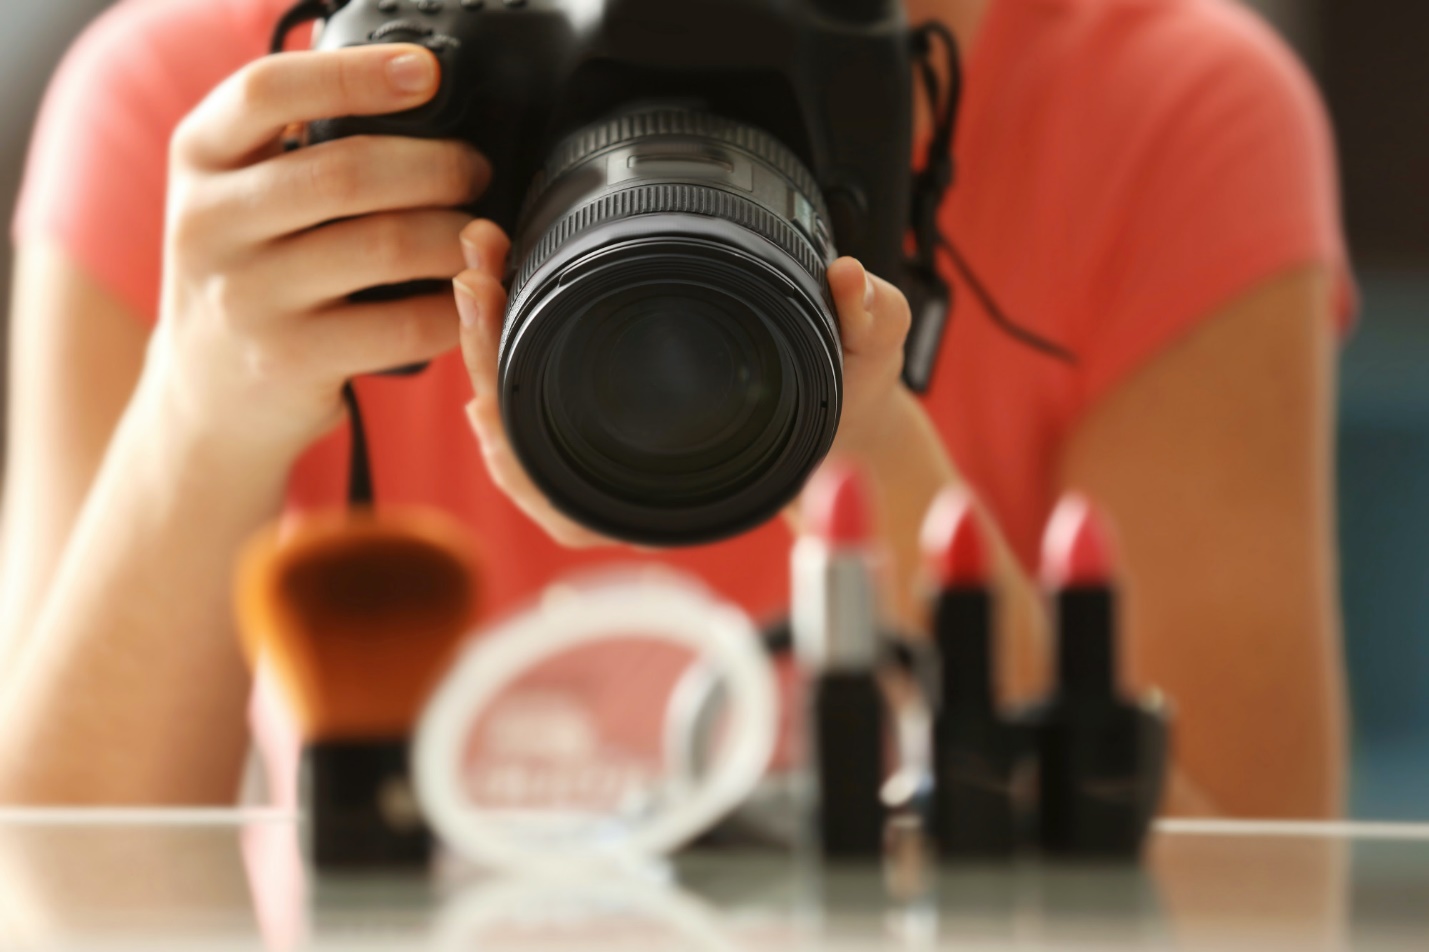
With online shopping, your product photos have never been so important. It’s the picture that will help your customers decide whether or not they want to buy the product.
Put bluntly, your commercial image is the enticement to purchase, and it will include details that show your customer exactly what it is they’re buying. Even if you think your image is perfect, there are always small changes that can improve the image.
The question is, with product photography, where do you start? Let us take you through the basics with our editing tips.
Pick Your Software
The first step to editing photos may sound simple, but in order to edit product photos, you need the right software. You’ll need to ensure it has all the features required to make your image stand out.
Envision Your Image
Think about the final result of your and how you want it to look. That’s what you’re aiming for. You’re going to use your editing software to make that vision a reality.
Remove the Background
Now we’re getting into the settings, and a good place to start is with the background. By removing the background you open your image up to a variety of possibilities.
Once you have a clear backdrop you can change the colors to make your product stand out, and give a crisp aesthetic. It’s wise to shoot your product against a white background, to make removal a simpler process.
Crop Your Product Photos
Cropping and straightening your image offers consistency across your photos ideal for the uniformity of a commercial website.
Exposure and Lighting
Next, we move on to the lighting and the exposure of your image. Fix any issues by adjusting the brightness and altering your contrast.
Once you’ve got the basic exposure how you want it, the next step is to add shadows where you need them and remove reflections from any reflective surface, such as mirrors.
Add Layers
Make your images dynamic by adding layers. With layers, you can add extra images as well as vector graphics and text. You can also blend exposures and tweak specific parts of the image. To learn more about the basics of layering go right here.
Colour Correction
You can’t always shoot your product in every available color. This is where color correction comes in. The color variant setting can make this easier for you.
White balance is another aspect to think about. It is the shade of your image and adjusting this, gives your image a more natural hue.
Increase Sharpness
Sharpness refers to the clarity of your image. the clearer your photo, the more detail your customer will be able to see. It gives your image a high-quality appearance.
Spot Correcting
When you spot correct, you remove scratches and blemishes from your image. You can even hide labels by copying areas of your image and covering the flaw, giving your potential customer a shining example of your product.
Now You Know the Basics
You’ve read your introduction to editing skills for product photos, and all that remains is to put these tips into action. Shoot plenty of images and use all your software features to make your vision a reality.
Give your customers the very best first impression of the product they want to buy.
If you enjoyed reading our article on product photography editing then take a look around and read some of our other blogs on Recess Tips.